One of the most difficult challenges in greenhouse CEA (controlled environment agriculture) is designing an appropriate ventilation system to maintain proper temperature and relative humidity without increasing energy costs.
Typically, greenhouse ventilation consists of air entering the greenhouse through the air intakes/dampers and leaving through the exhaust fans or vents. Venting is crucial in warmer months to prevent overheating, but even in winter, high solar energy can raise greenhouse temperatures, making cooling necessary.
Introducing cold outside air into a greenhouse in winter can stress or kill plants near the intakes.
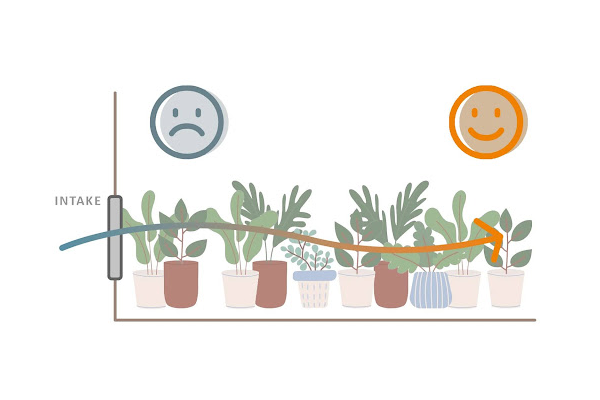
What is the ideal vent placement/location?
One way to mitigate the issue mentioned above is to have the air intake higher than the canopy level. There is still the potential for the plants closer to the intakes to feel colder than the plants farther away as the cold air drops and warm air rises, but your plants will experience less temperature stress.
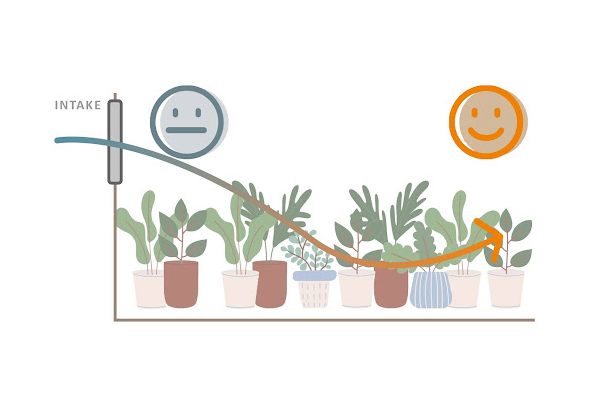
One downfall of this design alteration is that it's most efficient to have the air intakes at canopy level so plants benefit from cooler air during the warmer months. If using evaporative cooling (fogging or wet-wall), it is almost necessary to have airflow across the canopy. Therefore, only having intakes higher than the canopy for winter venting would not be an efficient design for the rest of the year. Having most of the intakes at the canopy level for summer cooling, and just a few intakes higher above the canopy for winter cooling can be an effective and affordable solution.
In addition, a proper sequence of operations via smart controls is necessary to distinguish which intakes need to open at what time based on the outside temperature.
What is the best Intake damper blade type and direction?
The blades from the intake dampers can also be designed in a way that the air is directed towards a particular direction. The most common option in greenhouses is parallel blades. They open angled towards the ceiling and will draw air upwards, allowing the air to blend with warmer interior greenhouse air before dropping back down to the plants. In some cases, this can be an issue as air drawn towards the ceiling will billow the shade cloth causing it to wear faster.
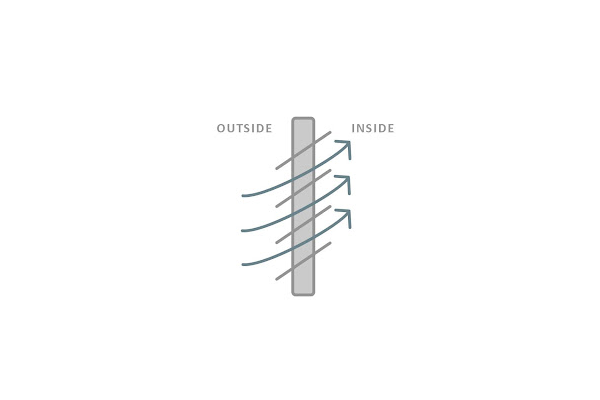
If flipped 180°, the blades will open in a way that air is drawn downwards as illustrated in the schematic below:
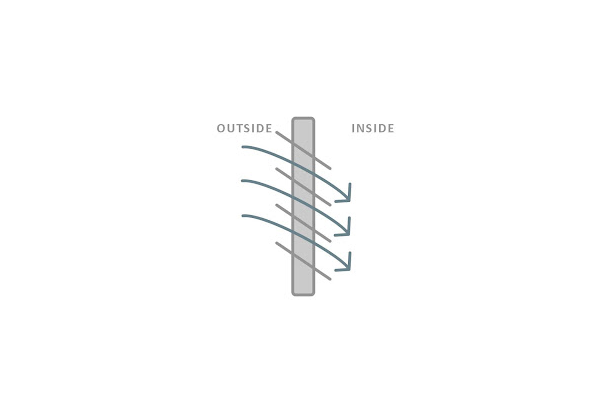
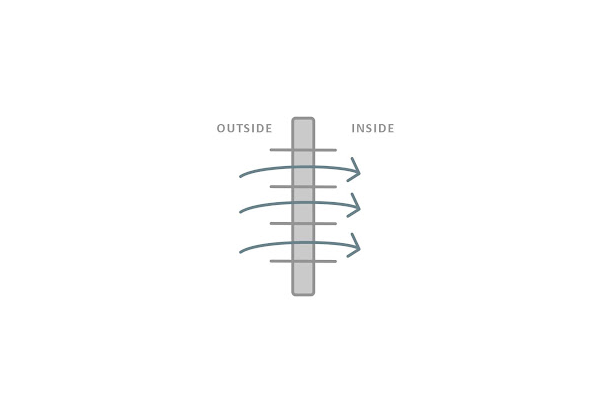
Then there are opposing blades that, when partially open, provide a better mixing of air than parallel blades.
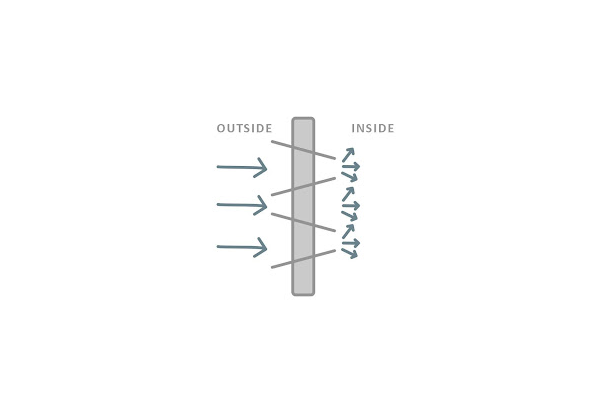 Both types of blade end up parallel when fully opened.
Modulating opening and closing – the importance of the actuator
An actuator is a mechanism that actually opens and closes the blades of the damper. It's an essential part of a well-functioning intake damper, and therefore a well-functioning greenhouse.
Most actuators in the greenhouse industry are quite simple: they either fully open or fully close. This is by itself a limitation, especially for winter or cold outside conditions. More sophisticated actuators can be used to modulate the opening (i.e. the angle of the blades). You can think of this as the ability to "dim" the quantity of air entering the building. Paired with a variable-speed exhaust fan that can also be modulated, this can be a very effective and economical way to bring small amounts of cooling into the greenhouse in the winter months.
Understanding variable speed fans
In greenhouses with exhaust fans, the amount of air entering is primarily determined by the pulling force generated by the exhaust fan on the opposite side of the intake. Without an exhaust fan running, the volume of air exchanged is very limited – most likely not enough to properly cool the greenhouse under sunny conditions, even with cold outside air.
The issue is most industry standard exhaust fans are usually single-speed, making it harder to control cooling in the greenhouse. Fans with two or three-speed settings are available but need to be manually switched from one speed to the next. These fans are large and are able to move a lot of air even at a lower speed.
Variable speed fans that can lower their speed from 0% to 100% allow for significantly more precise control in greenhouse cooling. The combination of variable speed fans and modulating louvers/dampers is a cost-effective and more precise way of cooling a greenhouse and is something that should be considered especially if your greenhouse is located in a cold and sunny location that requires cooling in the wintertime.
Locating Combining speed control and modulating intakes is optimal
What are make-up air units (MAU)?
MAUs allow outside air to be mixed with indoor air before being introduced to the greenhouse space. A very simple example of this application would be using 50% of the recirculated greenhouse air and introducing 50% of outside air into the unit. Assuming a 32°F outside temperature and 68°F inside temperature, the unit would obtain a 50°F discharge temperature. 50°F is enough to cool the greenhouse and is a lot more acceptable for the plants as compared to 32°F.
Additionally, industrial MAUs can come with an electrical coil that would heat the air stream. This would increase the energy cost but also increase the control over the air temperature introduced in the greenhouse.
For more information:
Ceres Greenhouse Solutions
www.ceresgs.com
